A Step-by-Step Guide: Logging in with SSH on a Linux Server
Secure Shell (SSH) is a widely used network protocol that allows secure remote access to Linux servers. Logging in with SSH provides a secure and encrypted connection, enabling you to manage your server remotely. In this blog post, we will walk you through the process of logging in with SSH on a Linux server, ensuring a secure and efficient remote administration experience.
Prerequisites
To follow this guide, you will need the following:
- A Linux server with SSH enabled.
- An SSH client installed on your local machine. Linux and macOS systems usually have an SSH client pre-installed, while Windows users can use tools like PuTTY or Windows Subsystem for Linux (WSL) to establish an SSH connection.
Step 1: Acquire Server Information
Before attempting to log in, you need to gather the necessary information about the server you wish to connect to. This includes the server’s IP address or domain name and the username you will use to log in. You may also require the port number if the SSH service is running on a non-default port.
Step 2: Open a Terminal or Command Prompt
On your local machine, open a terminal or command prompt window. This will serve as the interface for executing SSH commands.
Step 3: Launch the SSH Connection
Linux based systems & macOS
To initiate the SSH connection, use the following command in the terminal, replacing username with your actual username and server with the IP address or domain name of the server:
ssh username@serverIf your SSH service runs on a non-default port, you can specify it using the -p flag followed by the port number:
ssh -p port_number username@serverWindows based systems
PuTTY is a popular SSH client for Windows that enables secure connections to Linux servers. Follow these short steps to use PuTTY for SSH login swiftly.
- Download PuTTY from https://www.putty.org/.
- Install PuTTY by running the downloaded file.
- Launch PuTTY on your Windows machine.
- Configure PuTTY with the server’s IP address, SSH port (if different), and select “SSH” as the connection type.
- Optionally, save the session settings for future use.
- Click “Open” to establish the SSH connection.
Step 4: Verify Server Fingerprint (optional)
On the first connection attempt, you may be prompted to verify the authenticity of the server by checking its fingerprint. This is an added security measure to ensure you are connecting to the correct server. Compare the presented fingerprint with the one provided by the server administrator to confirm the authenticity.
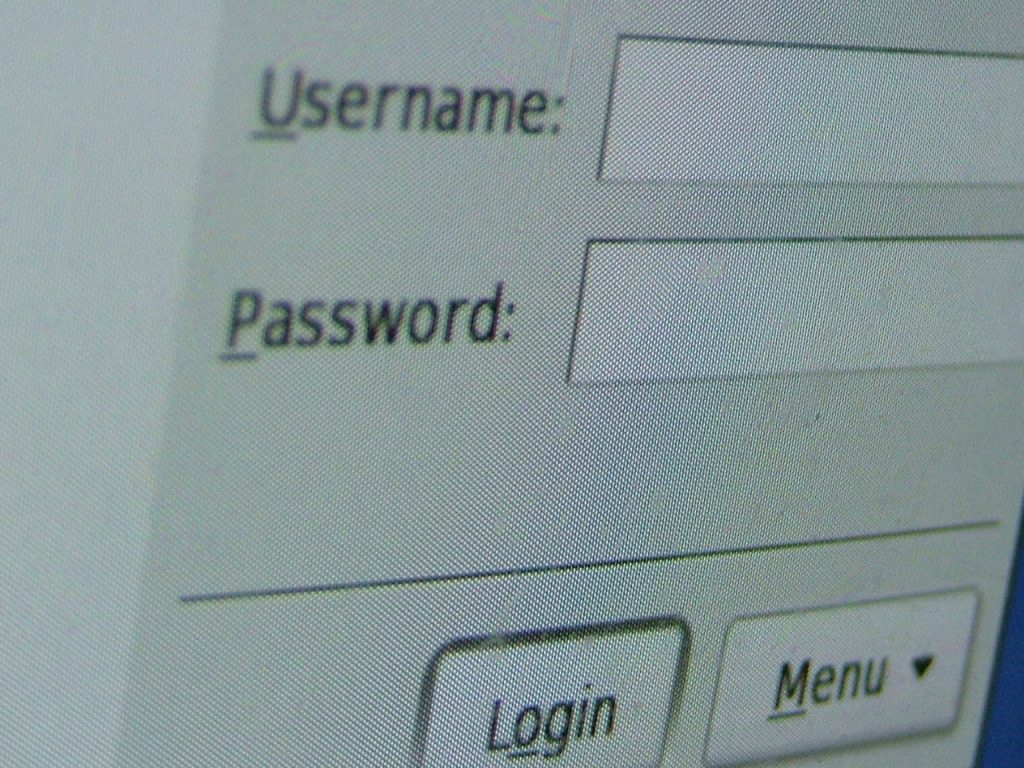
Step 5: Enter Password or Use SSH Key
Once the server’s fingerprint has been verified (if applicable), you will be prompted to enter your password. Type your password carefully, as no characters will be displayed on the screen.
Alternatively, you can set up SSH key-based authentication for a more secure and convenient login experience. This involves generating an SSH key pair on your local machine and adding the public key to the server’s authorized keys file. Upon successful configuration, you can log in without entering a password.